Welcome to the rabbit hole of exceptional coffee. If you’re here, chances are you’ve moved beyond the instant stuff and are ready to elevate your morning ritual. The secret to a café-quality cup at home often lies in one elegant tool: the pour-over coffee kettle. But learning how to prepare a pour over coffee kettle is about more than just flicking a switch. It’s about precision, control, and unlocking the true flavor of your beans.
Ever wonder why your home-brewed coffee sometimes tastes bitter or flat, even with expensive beans? The culprit might just be your old, clunky water boiler. A proper gooseneck kettle isn’t just for looks; it’s a precision instrument. In this guide, we’ll walk you through everything from choosing the right kettle to mastering the pour that will transform your coffee game forever. Let’s get brewing.
What’s the Big Deal with Gooseneck Kettles Anyway?
Before we dive into the “how,” let’s talk about the “why.” Why can’t you just use your regular electric kettle? You can, but it’s like trying to paint a masterpiece with a paint roller. A standard kettle dumps water in a wide, uncontrollable stream, agitating the coffee grounds unevenly. This leads to what’s called “uneven extraction”—some grounds get overworked (bitter), and others are left under-touched (sour).
A gooseneck kettle, with its long, slender spout, is the artist’s fine-tipped brush. It gives you complete control over:
- Flow Rate: You can pour as slowly and gently as you need.
- Precision: You can direct the water exactly where you want it, ensuring all the grounds get saturated evenly.
- Consistency: A steady, repeatable pour is the key to a consistently delicious cup, day after day.
Think of yourself as the conductor of a coffee orchestra. The gooseneck kettle is your baton, guiding the water to extract a symphony of flavors from the grounds.
Choosing Your Perfect Pour-Over Partner
Your journey begins with selecting the right tool. Not all gooseneck kettles are created equal, and the right one for you depends on your needs and budget.
Electric vs. Stovetop: The Modern Dilemma
- Stovetop Kettles: The classic choice. They’re simple, often more affordable, and work on any stovetop (gas, electric, induction—check the model). The downside? You need a separate thermometer to monitor the water temperature, which can be a bit of a hassle.
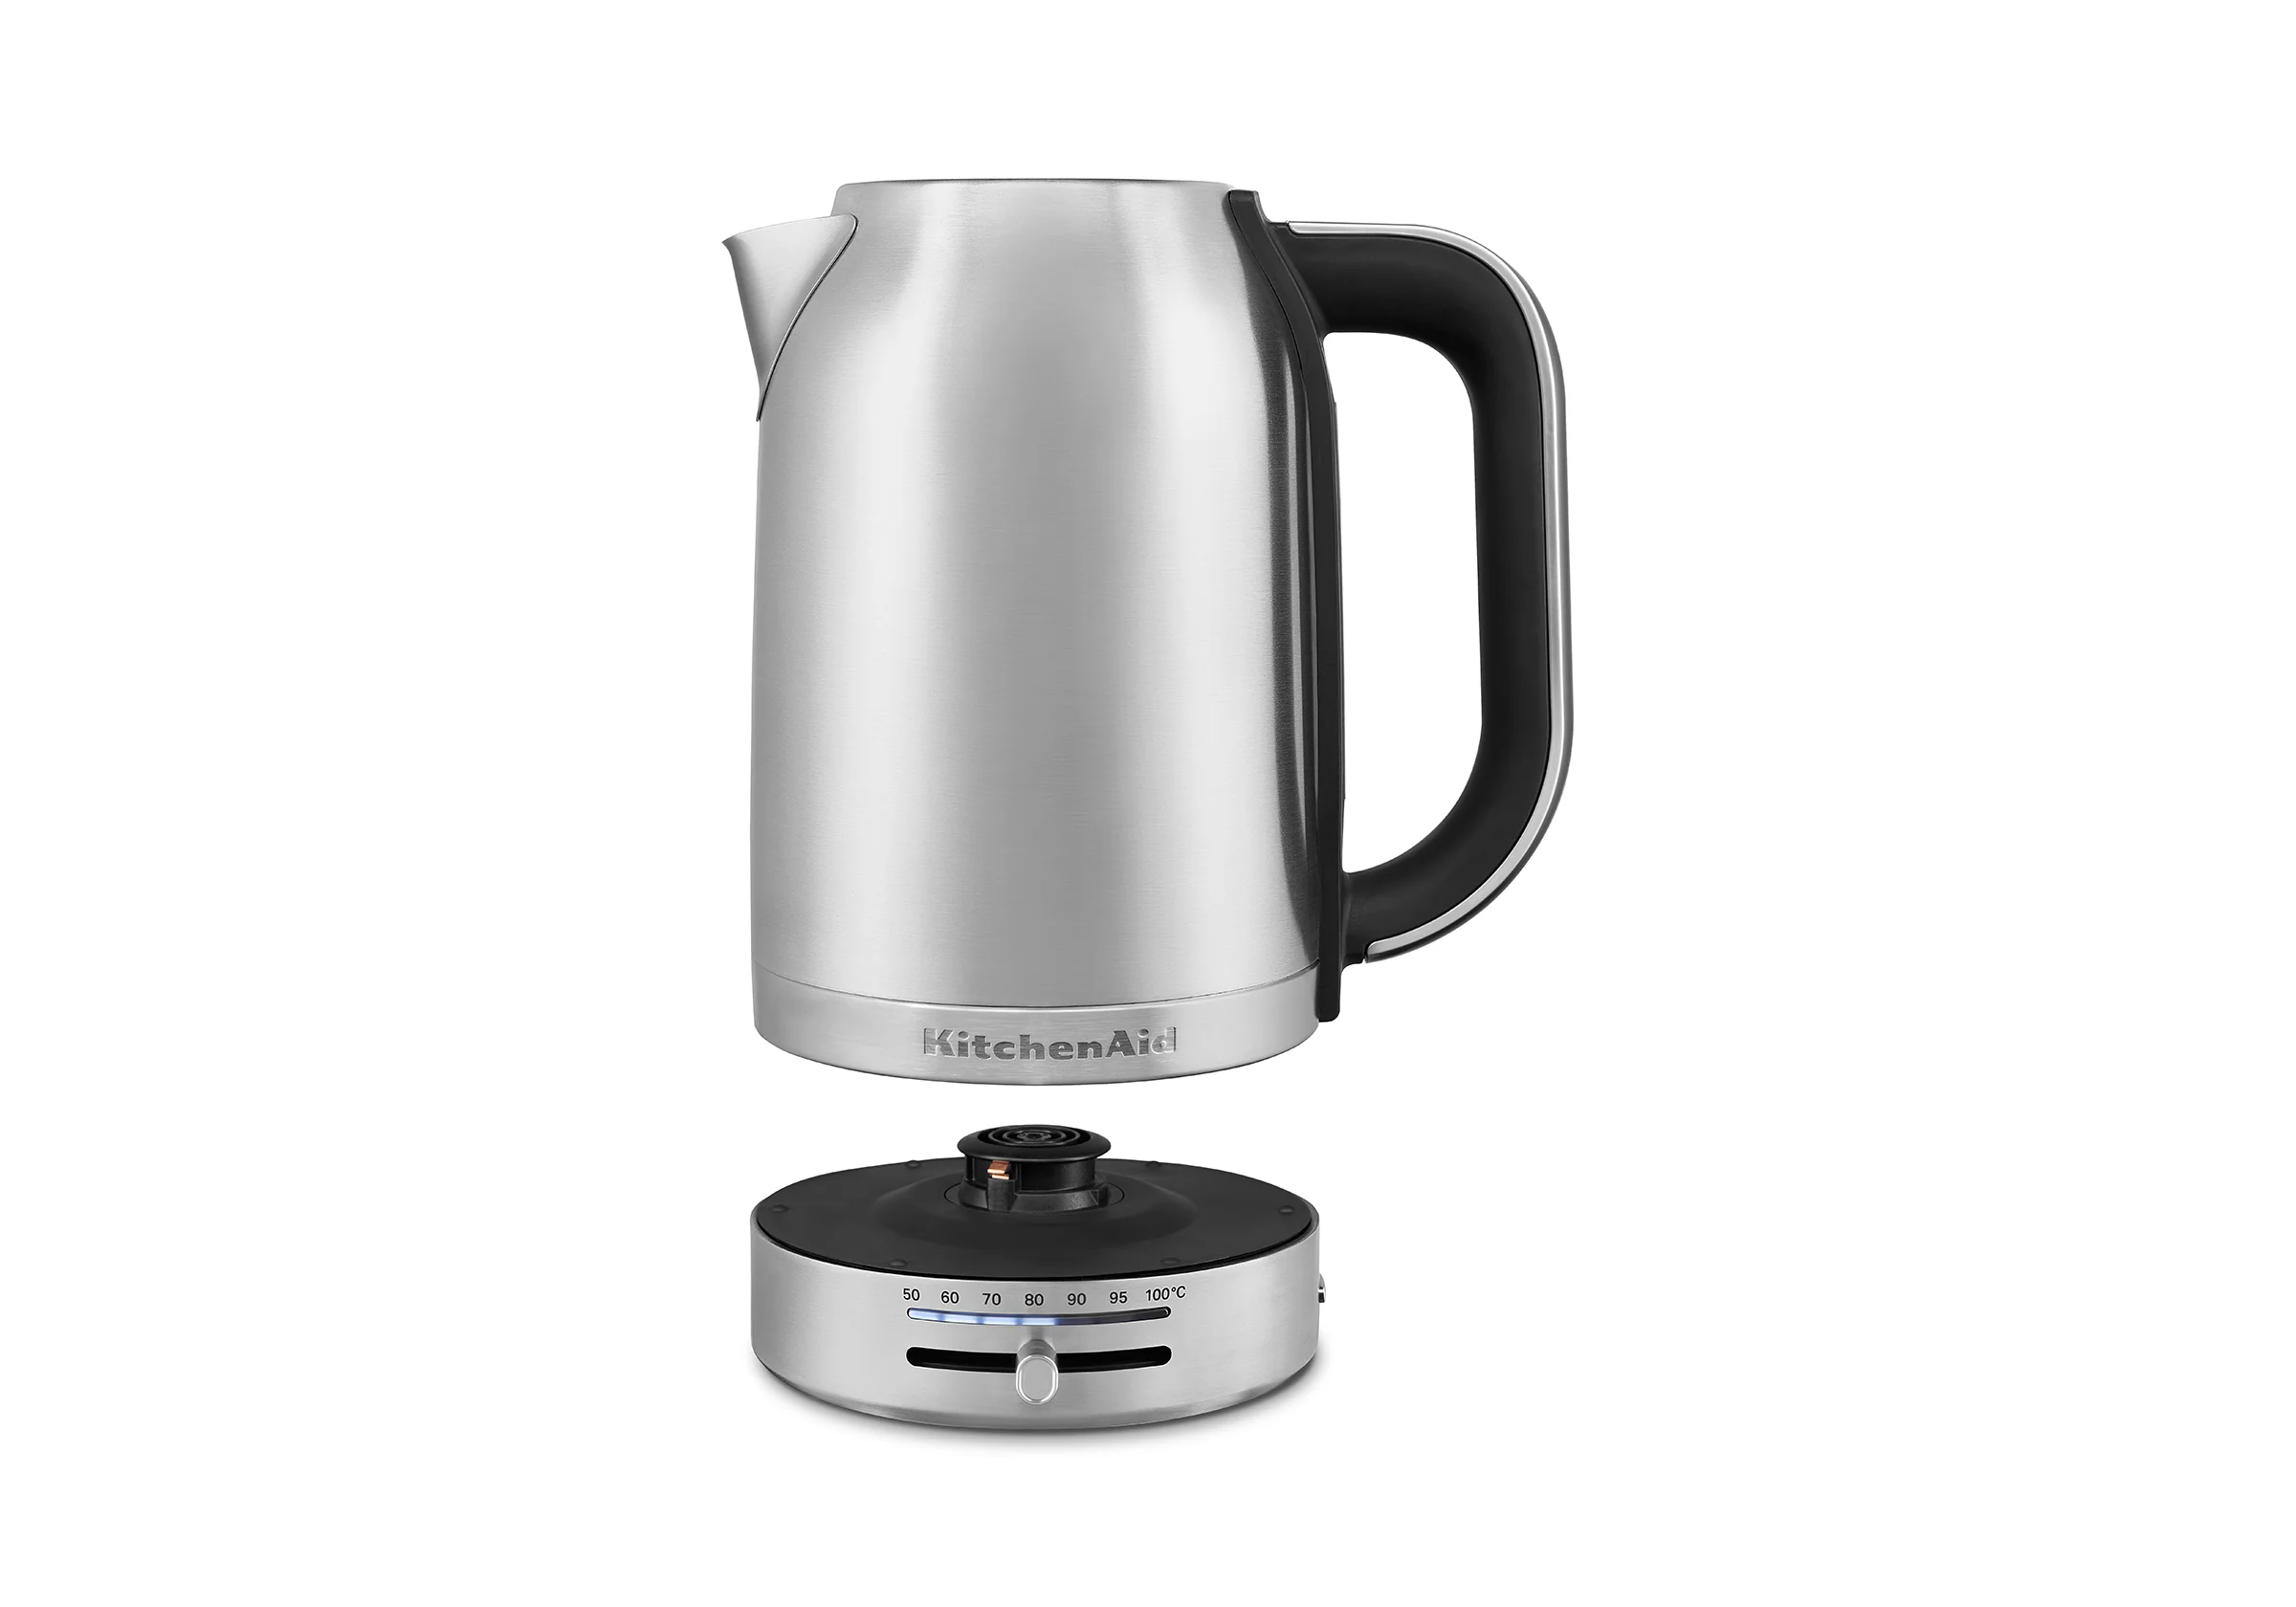
- Electric Kettles: This is where the magic happens for coffee lovers. An electric gooseneck kettle offers convenience and, most importantly, precision. Many models come with variable temperature control, allowing you to set the exact temperature for your brew. This is a non-negotiable feature for serious coffee enthusiasts.
Key Features to Look For in an Electric Gooseneck Kettle
When you’re shopping, keep an eye out for these game-changing features:
- Variable Temperature Control: The single most important feature. Different beans and roast levels shine at different temperatures. A good starting point, recommended by the Specialty Coffee Association (SCA), is between 195°F and 205°F (90°C to 96°C). Being able to dial this in is crucial.
- Hold Temperature Function: A fantastic quality-of-life feature. It keeps the water at your desired temperature for up to an hour, so you don’t have to rush or re-boil if you get distracted.
- Material and Build Quality: Look for food-grade stainless steel (like 304 or 18/8). It’s durable, doesn’t impart any weird flavors, and is easy to clean. Ensure any plastic components, especially on the lid’s interior, are BPA-free.
- Balance and Ergonomics: A well-balanced kettle with a comfortable, counter-weighted handle makes pouring feel effortless and controlled. You’ll be holding it for a minute or two, so comfort matters.
- Flow Rate: Not all goosenecks are the same. Some are designed for a faster flow, while others offer a more restricted, delicate stream. Reading reviews can give you a good sense of a kettle’s pouring style.
The Step-by-Step Guide: How to Prepare Your Pour Over Coffee Kettle
You’ve unboxed your shiny new kettle. Now what? Preparing it correctly from the first use and for every brew is key to a perfect cup and a long-lasting appliance.
Step 1: The Inaugural Cleanse (First Use Only)
Before its maiden voyage, you need to clean out any manufacturing residues.
- Fill the kettle to the “MAX” line with a 50/50 mixture of white vinegar and water.
- Bring the mixture to a full boil.
- Let it sit for about 15-20 minutes, then discard the solution.
- Rinse the inside thoroughly 3-4 times with fresh water.
- Boil a full kettle of plain water and discard it. Your kettle is now pristine and ready for action.
Step 2: Dialing in the Perfect Temperature
This is where your variable temperature kettle shines.
- Start with Fresh Water: Always use fresh, cold, filtered water. Water that’s been sitting in the kettle or re-boiled has lost oxygen and can taste flat.
- Select Your Temperature: For most light to medium roast coffees, a temperature between 198°F and 202°F (92°C – 94°C) is a fantastic starting point. For darker roasts, you might want to go slightly cooler to avoid extracting too much bitterness.
- Heat it Up: Set your temperature and let the kettle do its work. If you’re using a stovetop model, use a thermometer and pull it off the heat just as it reaches your target.
“Water temperature is arguably the most overlooked variable in home coffee brewing. Just a few degrees can be the difference between a cup that’s vibrant and sweet versus one that’s dull and bitter. A variable temperature kettle takes the guesswork out of the equation.” – Dr. Alistair Finch, Home Appliance Engineer.
Step 3: The Art of the Pour
With your water heated, it’s time to brew. The pour itself is a ritual.
- Pre-wet Your Filter: Place your paper filter in your dripper and pour some of the hot water from the kettle over it. This rinses out any papery taste and preheats the dripper and your mug or carafe. Don’t forget to discard this water!
- The Bloom: After adding your coffee grounds, start a timer and pour just enough water (about twice the weight of the grounds) to saturate them evenly. You’ll see the coffee “bloom” or bubble up as CO2 escapes. Let it sit for 30-45 seconds. This is a critical step for a flavorful brew.
- The Main Pour: Now, begin your main pour in a slow, steady, circular motion, starting from the center and spiraling outwards, then back in. Avoid pouring directly on the sides of the filter. The goal is to keep the bed of coffee grounds level and fully saturated.
- Pulse and Pause: You may need to pour in several stages or “pulses” to reach your desired water volume, maintaining a consistent water level in the dripper.
Keeping Your Kettle in Top Shape: Maintenance Matters
A little TLC goes a long way. Proper care ensures your kettle performs perfectly and lasts for years. My old kettle started making my tea taste funky, and it was all down to limescale buildup. Don’t make my mistake!
How often should you clean your kettle?
You should rinse and dry your kettle after every use to prevent mineral buildup. A deep clean, or “descaling,” should be done every 1-3 months, depending on how hard your water is.
How to Descale Your Pour-Over Kettle
Limescale is the chalky white deposit of calcium carbonate that builds up from hard water. It can affect your kettle’s performance and the taste of your water.
- Create the Solution: Fill the kettle with equal parts white vinegar (or lemon juice) and water.
- Let it Soak: Let the solution sit in the kettle for at least one hour. For heavy buildup, you can let it soak overnight. Do not boil the vinegar solution unless the manufacturer’s instructions specifically say to do so, as it can sometimes damage the finish.
- Scrub and Rinse: Discard the solution. Use a soft cloth or bottle brush to gently scrub any remaining deposits. Rinse thoroughly with fresh water several times to remove any lingering vinegar taste.
- Final Boil: Fill with fresh water, bring to a boil, and discard. This final step ensures any aftertaste is gone.
|
Our Picks for the Best Electric Kettle in 2026
As an Amazon Associate, we earn from qualifying purchases.
|
||
| Num | Product | Action |
|---|---|---|
| 1 | OVENTE Electric Kettle, 1.5L Borosilicate Glass Countertop Water Heater and Boiler for Coffee or Tea, BPA-Free, Auto Shut-Off, Boil-Dry Protection, Removable and Washable Spout Filter, Black KG83B |

|
| 2 | Amazon Basics Electric Kettle with Glass Carafe for Tea and Coffee, BPA-Free, Fast Boiling, Auto Shut-Off, 1.8 Quarts, 1500W, Black and Silver |
|
| 3 | Chefman Electric Kettle with Tea Infuser, 1L 1500W, Removable Lid for Easy Cleaning, Boil-Dry Protection, Stainless Steel Filter, BPA Free, Auto Shut Off Hot Water Boiler, Small Electric Tea Kettle |
|
| 4 | Amazon Basics Electric Stainless Steel Kettle for Tea and Coffee, BPA-Free, Fast Boiling, Auto Shut-Off, 1.1 Quarts, 1500W, Black and Silver |
|
| 5 | Cuisinart 1.7-Liter Stainless Steel Cordless Electric Kettle with 6 Preset Temperatures |
|
| 6 | OVENTE Electric Kettle, 1.5L Borosilicate Glass Countertop Water Heater and Boiler for Coffee or Tea, BPA-Free, Auto Shut-Off, Boil-Dry Protection, Removable and Washable Spout Filter, Black KG83B |
|
| 7 | Chefman Electric Kettle, 1.8L 1500W, Hot Water Boiler, Removable Lid for Easy Cleaning, Auto Shut Off, Boil-Dry Protection, Stainless Steel Filter, BPA Free, Borosilicate Glass Electric Tea Kettle |
|
| 8 | Cosori Electric Kettle, No Plastic Filter & Spout, 1.7L Tea Kettle & Hot Water Boiler For Coffee & Tea, Water Heater & Teapot, Automatic Shut Off, Borosilicate glass, Black, 1500W |
|
| 9 | Chefman Electric Kettle, 1.8L 1500W, Hot Water Boiler, Removable Lid for Easy Cleaning, Auto Shut Off, Boil-Dry Protection, Stainless Steel Filter, BPA Free, Borosilicate Glass Electric Tea Kettle |
|
| 10 | Chefman Electric Kettle with Temperature Control, 5 Presets LED Indicator Lights, Removable Tea Infuser, Glass Tea Kettle & Hot Water Boiler, 360° Swivel Base, BPA Free, Stainless Steel, 1.8 Liters |
|
Frequently Asked Questions (FAQ)
Q: Can I use a regular electric kettle for pour-over coffee?
A: You can, but it’s not ideal. You’ll lack the precise control over the water flow, which can lead to an uneven and inconsistent brew. A gooseneck spout is highly recommended for the best results.
Q: What is the best temperature for pour-over coffee?
A: The ideal range is generally 195-205°F (90-96°C). Lighter roasts often benefit from being on the hotter end of that spectrum, while darker roasts can be brewed slightly cooler to avoid bitterness. Experiment to see what you prefer!
Q: Why does my pour-over coffee taste bitter?
A: Bitterness is usually a sign of over-extraction. This can be caused by several factors: water that is too hot, a grind that is too fine, or a brew time that is too long. Try lowering your water temperature by a few degrees or using a slightly coarser grind.
Q: Is a variable temperature kettle worth the extra money?
A: Absolutely. If you are serious about brewing great coffee or tea, it’s the best investment you can make. The ability to control temperature precisely gives you consistency and the power to unlock the best flavors from different types of coffee beans and tea leaves.
Q: How do I know if I have hard water?
A: The most obvious sign is a white, chalky residue (limescale) building up inside your kettle. If you see this, you likely have hard water and should descale your kettle regularly.
Your Perfect Cup Awaits
The electric kettle has evolved from a simple water boiler into a sophisticated tool for connoisseurs. For the pour-over coffee lover, the gooseneck kettle is not just an appliance; it’s an essential part of a cherished ritual. It’s the bridge between good coffee and truly exceptional coffee.
By understanding how to choose the right features, perform the initial setup, and master the daily brewing process, you’re not just boiling water—you’re taking control of your craft. Learning how to prepare a pour over coffee kettle is the first, most important step on your journey to brewing the perfect cup, every single time. Now go on, your beans are waiting.